Lightroom is a workflow program specifically designed for photographers. Rather than go down the traditional route of being browser based, Lightroom uses a database to store information about files that are added to the program. With browsers, previews and information are stored in each folder that is accessed by the program. Lightroom on the other hand stores the file information in one file, called the Catalog. Previews of the images are stored in a separate file, in the same folder as the Catalog. When you work in Lightroom, it applies everything non destructively. It takes previews of the original image and creates an instruction set that gets applied to this preview. Imagine it as a recipe being applied to the image. It’s only when you output the image that a hard copy is created. Lightroom automatically saves settings as you go, so there’s no real ‘Save’ command in the traditional sense.
Lightroom isn’t automatically aware of images on your computer, you need to bring them into the Lightroom Catalog. This process is called Import. When Importing, you can choose to leave the images where they are (Add), move them (Move), copy them (Copy), or copy and convert to DNG (Copy as DNG). With move and copy options, you can choose where the files are going. Other Import options include renaming, add a Develop/Metadata Preset or keywords.
Once your images are in the catalog, you can then start to manage and process your files. While the processing is the fun part, managing your images is a vital part of photography. Because Lightroom is designed for workflow, you need to use it a particular way to get the most out of it. Lightroom is made up of 5 Modules: Library, Develop, Slideshow, Print and Web. The idea is that these comprise the image workflow, from camera to final output.
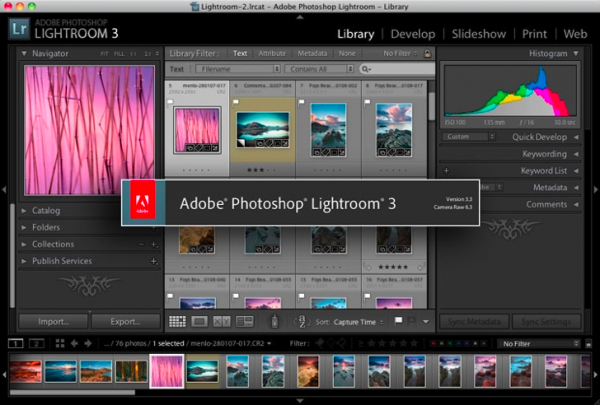
![]()
Library is the first Module you see in Lightroom. Here you organise the files and sort them into good and bad photos. You can also add keywords and create collections of related images either manually or automatically using Smart Collections. The Folders panel lets you see a representation of the folders you’ve imported into Lightroom. As a general rule in Lightroom, file related tools are in the Left Panel of each Module, while settings are on the right.
Develop is where you work on your images, either as individuals, or as a batch. It’s usually best to have sorted into the images you need to process before hand, to save time. Develop also uses Presets to get looks quickly. You can save your own to use again as you become more familiar with the program. As you work on the image, you can save Snapshots to get back to a look quickly. To make different versions of images, you can use Virtual Copies. These take up little additional space making them more useful that making a duplicate. Develop has a large number of tools, from basic adjustments to local adjustments, to lens corrections.
Once you’ve got to the final image, you have loads of options for output. Slideshow, Print and Web are in the Module picker and well named. You can also use Export to create hard copies of the image with your settings applied. The other way to get output is to use Publish. This allows you to send images to Facebook, Flickr, Smugmug, etc, and see at a glance what’s online. You can also download comments made on these services.
So that’s a brief introduction to Lightroom. I’ll be introducing more basic concepts and information in this beginners category as time goes by. No one comes to a new program knowing everything, so I intend to keep things simple with these posts, as well as posted more advanced articles.