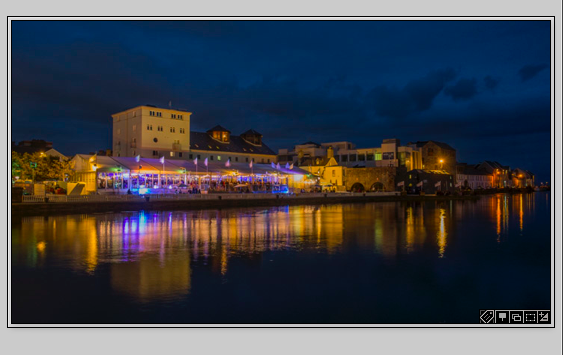
Let’s talk about those tiny little icons on the bottom of your photos in Grid and the Filmstrip. Here I’ve used the + key to make my thumbnail large enough for a decent screen capture. The – key will reduce the size. There’s also a slider in the Toolbar (shortcut T); If you don’t see it, click the triangle at the end and select Thumbnail Size from the list.

Across the bottom of our thumbnail we see 5 badges. The first looks like a cross between a stubby pencil and a price tag. It’s really a tag, which is another word for a Keyword. This badge means keywords have been added to the photo. A single click on the badge will open the Keywording panel in Library to add or edit keywords.

Badge number 2 is a pin, which indicates GPS or location information has bee added to the photo. In this case the photo had been dropped onto the map in the Map Module. Clicking the pin takes us to Map.
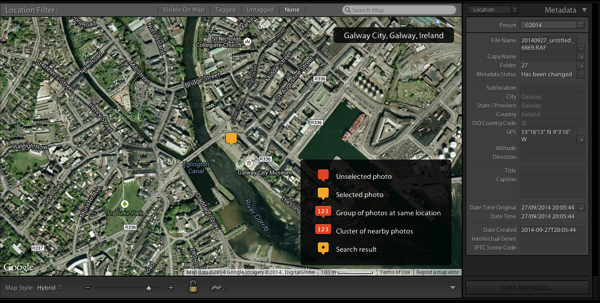
The 3rd badge, depicted as overlapping boxes, is the Collections badge. This lets us know the image is in at least one Collection. Note this only shows normal collections, not smart collections. Clicking the badge shows the list of collections. Clicking the collection name will take you to the photo inside the collection.

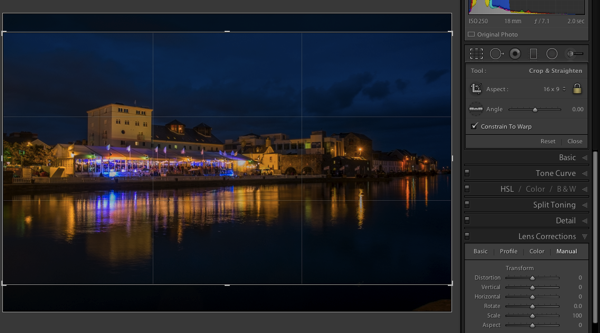
Crop is the 4th badge, shown as the crop rectangle, indicating a crop bass been applied. Clicking it will bring us into the crop tool.
The final badge here is the settings indicate, shown as a +/-, indicating that Develop settings have been applied. It’s probably obvious from the response of all the other badges that clicking this will take you to the Develop Module.
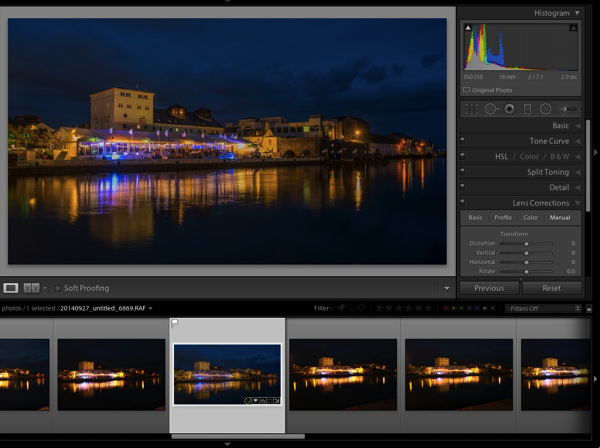
Badges can be turned on and off in the Filmstrip via the Interface tab of Preferences, specifically the ‘Show badges’ checkbox.

For the Grid view, Control/Command J brings up the View Options, where the Thumbnail Badges checkbox is in the Cell Icon options.

So that’s a look at the badge options in Lightroom.





Sean, I think you pulled in the wrong set of images for this post! :-/