While Lightroom doesn’t provide a true develop path for Plugins (i.e. you can’t alter the file in a plugin and have instructions in the XMP as with Develop), it is still possible to create a render to an external editor, and have the file returned to Lightroom, stacked with the original. Many plugins do this, but the one I’m looking at right now is Exposure 3 from Alien Skin. Exposure is a well renowned and loved plugin for Photoshop. It’s also now available to use with Lightroom. What is Exposure? In essence Exposure is a film emulation tool with a difference. Along with a range of film types to change the look of the photo, you can also add lo-fi or lomo effects to the shot. Coupled with aging tools, you can really make a huge difference to the photo. From cross process to full on toy camera, it’s all really easy in Exposure.
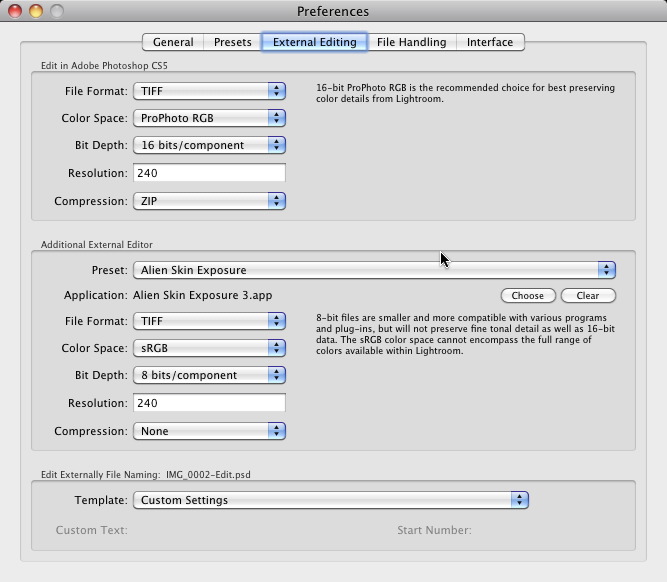
To use Exposure with Lightroom, you need to install the application as normal, and then open preferences (Mac: Lightroom>Preferences, PC: Edit>Preferences). Click on the External Editors tabs and go to the second option. Click the Choose Button and then navigate to the Exposure program file and press return. I suggest saving this as a Preset, to make selecting it easier.
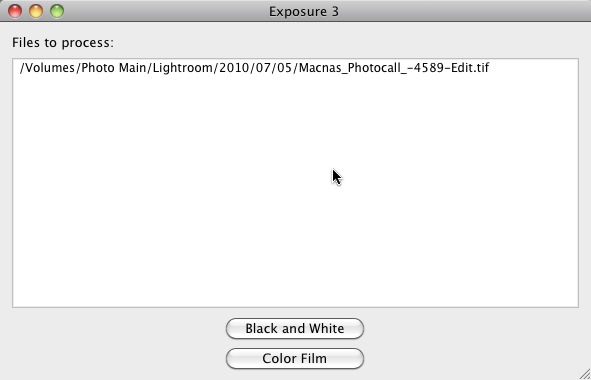
Once you have a file you want to open in Exposure, use the Photo>Edit In.. menu to choose the Preset you created. In the options box, choose ‘Edit with Lightroom Adjustments’. The initial Exposure dialog will open, showing the file path for the selected files. From there you choose between Black & White Film, or Colour Film.
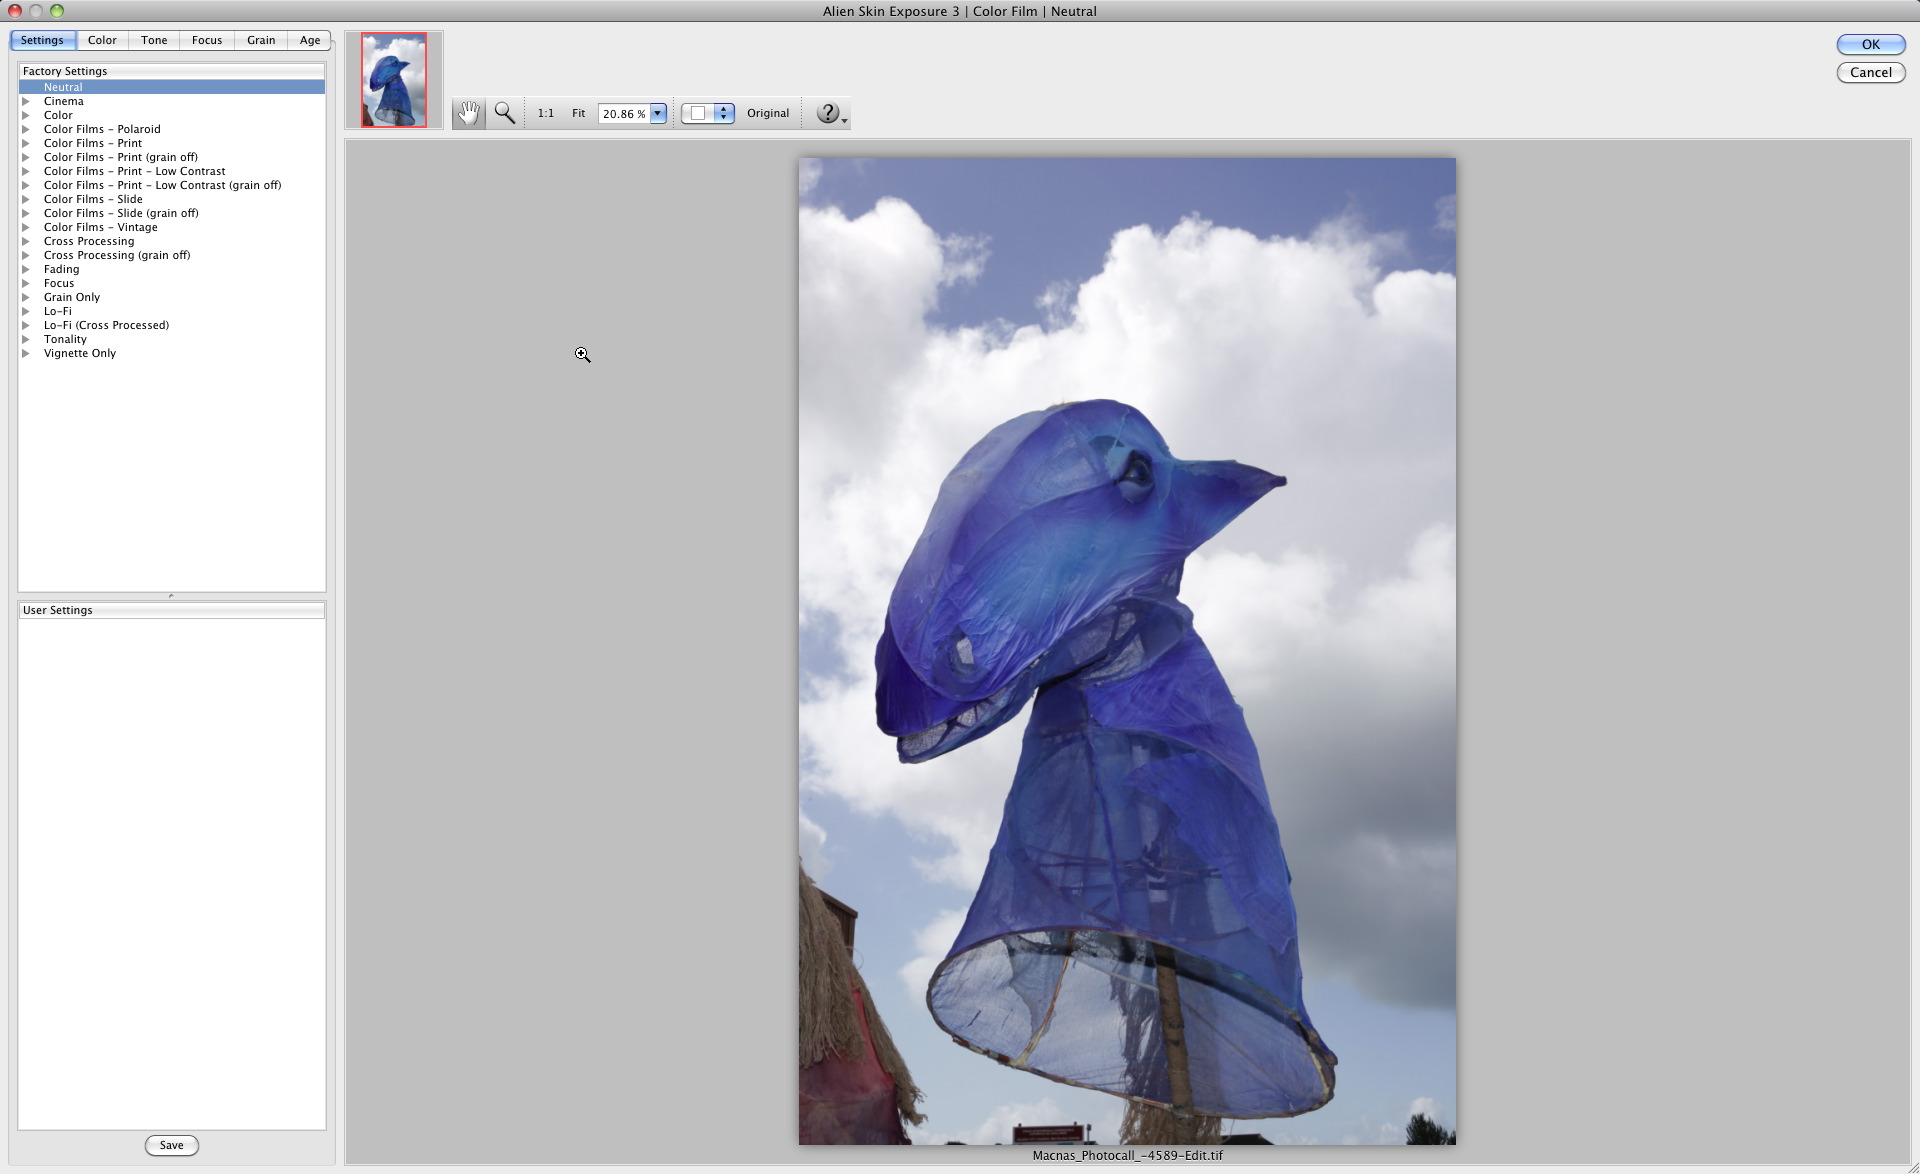
The main Exposure dialog opens, and here you have the controls on the left and the photo on right. From the settings menu you can choose from the over 500 predefined looks, or using the other tabs, you can manually change the look of the photo. The scope for change provided by the tools is greater than Lightroom’s equivalent tools. For example, the Tone tab allows you to tweak individual colour channels, and the Grain tab has far more options for emulating film grain.
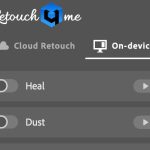
Lightroom does have a Vignette tool, and I find it great. Still Exposure offers a little more control, but still lacks a control to choose the centre point (at least as far as I can see!). It does however have a dust and scratches tool, which gives a way to age a photo (rather than Photoshop where dust and scratches lets you remove them!). When you’ve done, click okay to return the file to Lightroom. If you’ve more than one image selected, you can click Apply&Next to go to the next image, or Apply to Rest, to give them all the same look. Easy.
I’ve been playing with Exposure, and I have to say I quite like it. The Black and White emulations are excellent, as are the range of controls for conversion. The LoFi additions add a bit of fun and the vintage looks are reasonably convincing to give a toy camera or distressed look to your photo. Being a cross process lover, the film emulations give such a range of looks, that I can’t help but be pleased.
Talking about a product that’s been well received already, is a bit like teaching your Grandma to suck eggs, so I’m not going to go more in depth here. Exposure 3 is a great product, does what it says on the tin, and the integration is seamless with Lightroom, which is the real boon here. More information on Lightroom integration is available on the Alien Skin website, along with a setup video. A trial can be downloaded from the site also. Finally the full version of the software retails at $249 or $99 upgrade from previous versions.
Disclosure: While not obligated in the EU to do so, I’m letting you know that Alien Skin PR were in touch to let me know that Exposure was now Lightroom compatible, and to send a copy to try out. If I thought it was bad, I would say that too.