With all the Lightroom firesales on, there’s a host of new users fresh to Lightroom. Here’s a few tips to help you get started.
![]()
1. Workflow. Lightroom is a modular program. This means it designed to work best in a particular way. Library is the first module, so it’s best to manage your files first. With each shoot, work down to your best images before jumping into Develop to refine their look.
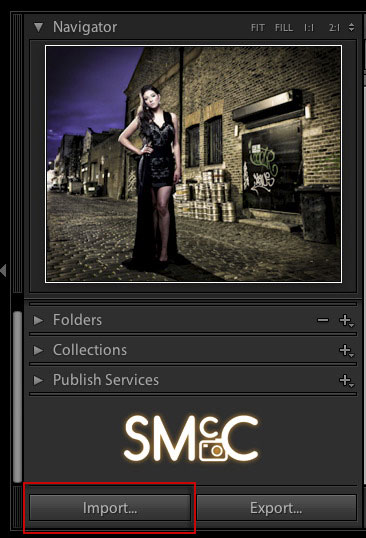
2. Import. Lightroom is a database, so you need to bring your photos into the Lightroom Catalog (that’s everything you see when you open Lightroom!). Click the Import button on the bottom of the Left Panel in the Library to get going. If you’re coming from a card, you have to use ‘Copy’ or ‘Copy as DNG’ to get files into Lightroom. As they ingest, files aren’t just loaded randomly, they go to wherever you’ve set in the ‘Destination’ panel on the right hand side of the Import dialog. If you’ve already got a whole folder system in place, Import using ‘Add’ to leave it where it is.
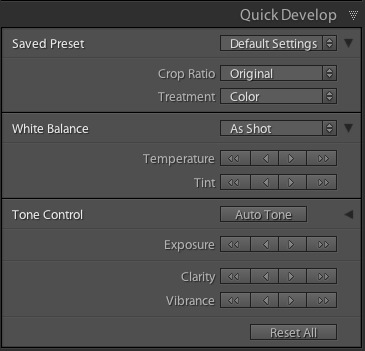
3. Quick Develop. This is below the Histogram on the right in Library. It’s the little brother of Develop, but is no less useful. It’s great for applying changes to loads of images at once, for example, crop, exposure, add preset, fix white balance. Because it’s visual, you don’t need to get hung up on numbers, just see if it looks right.
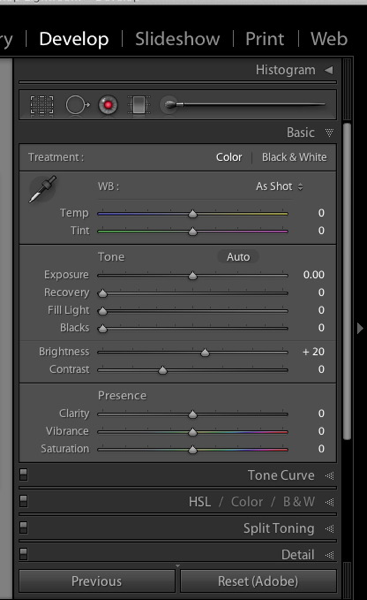
4. Develop. This is the big kahuna for fixing your images. Raw files tend to be a bit flat, so need a bit of tweaking. Start with Exposure to set the brightest part of the image. Use Blacks to set the darkest. If the shadows are a bit dark overall, use Fill Light to bring back detail. If the image is overexposed, try Recovery to bring back highlight detail. Finally if the image is washed out, reduce Brightness. Alternatively, if the image is dark, but has some areas on the edge of over exposure, push Brightness instead of Exposure to fix it.
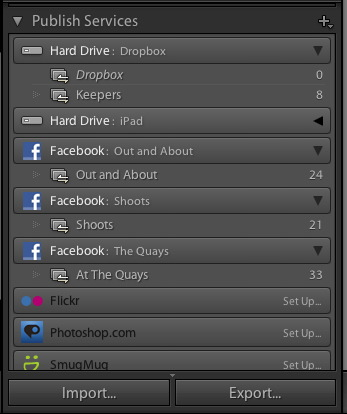
5. Get Them Out. All the fixes you make are stored inside Lightroom, but the Web, and other apps can’t read Raw files, so you need to get the files out of Lightroom for these. To just get the files themselves you can use Export or Publish. Export is great to create copies to get out to people quickly, as JPEG/Tiff/DNG or even as copies of the original file. Publish is very similar, except that it gives you visual management of the exported files, in the Publish Services panel on the left of Library. This way you can keep track of what files are on Facebook or Flickr for example. 3rd party Publish plugins exist too, for example 500px.com just released one, which is great for seeing what photos you have on 500px. Obviously this only works for photos you Publish via the plugin. Another bonus over Export, is that you can sync comments back into Lightroom, and even add your own.