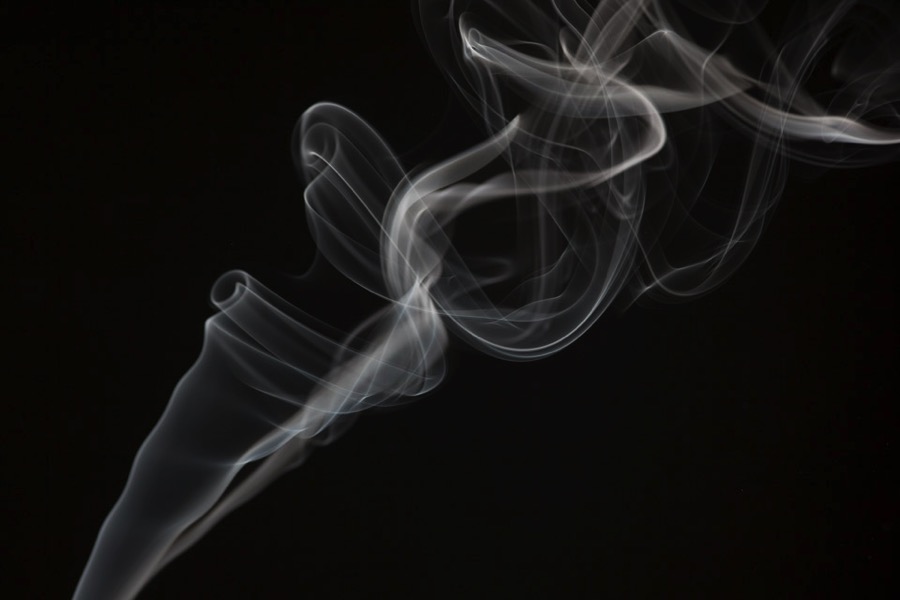
Way back in 2009 I created a set of presets to be used when playing with smoke trails. Making smoke trails is a cool way to play with off camera flash. You basically set up 2 flash on either side of the camera facing each other at the same power. Light an incense stick in the middle, below the lens, and take photos of the trails that occur. By moving the air gently, you can influence the shape of the trail. You can get shapes that resemble real things, and some folk even go as far as liquifying the results in Photoshop to make art.
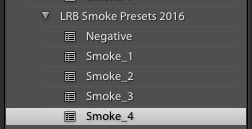
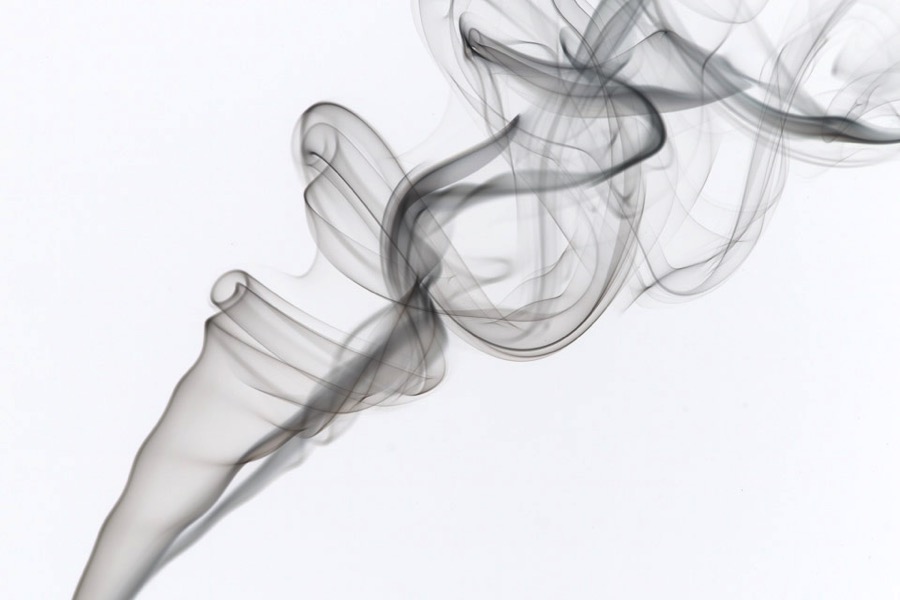
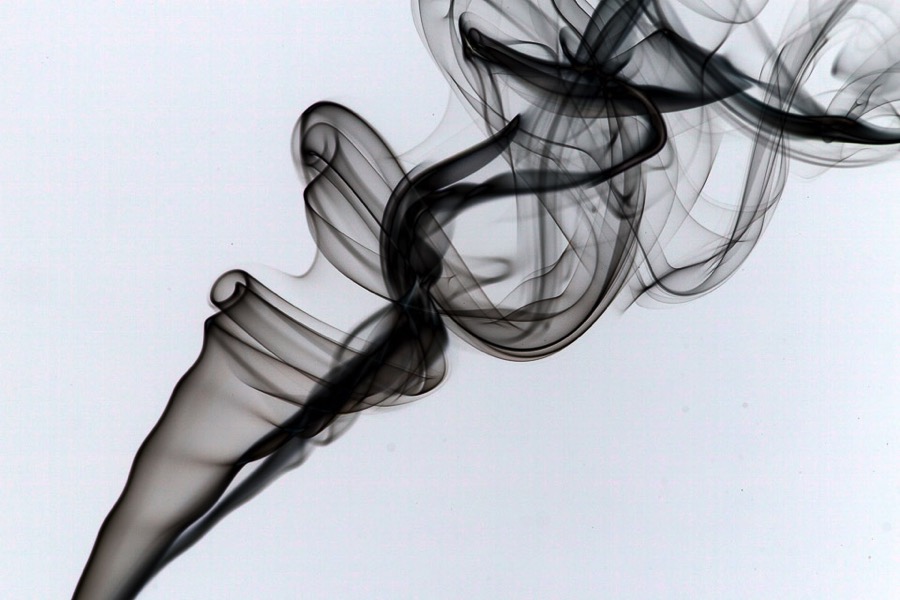
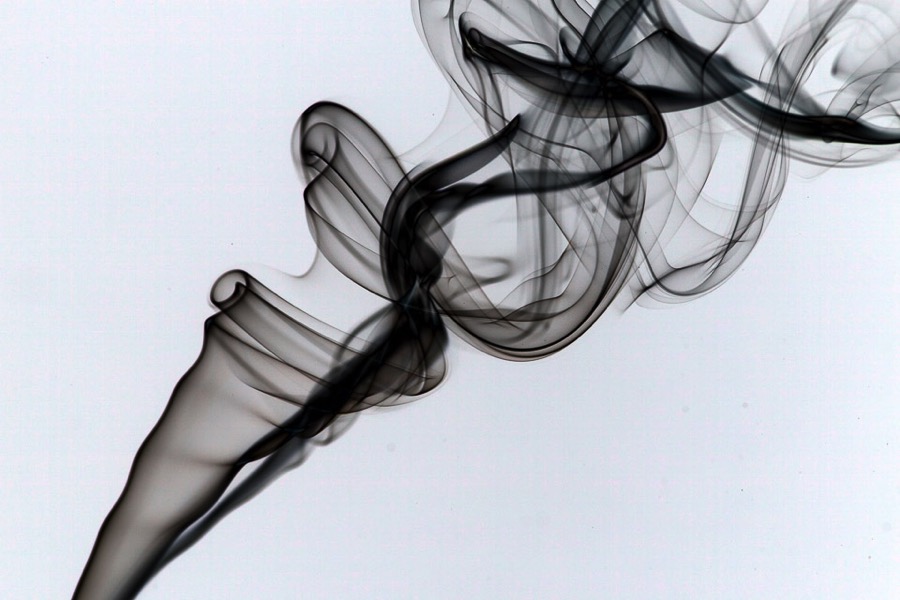
Well, these presets are just about giving a quick look to the photos using the Tone Curve. While the original set came out in 2009, they worked well. But then there was a change in the Tone Curve. We got RGB curves and then the Presets didn’t work. Well they did work, but you need to use Process Version 2010, and people didn’t want to do that, so I’ve recreated them. Again it was done by hand to make them match the original settings, and then re-saved to make sure there were no errors in them. So here are the new Smoke Presets for 2016.
Original Image
Negative
Smoke 1
Smoke 2
Smoke 3
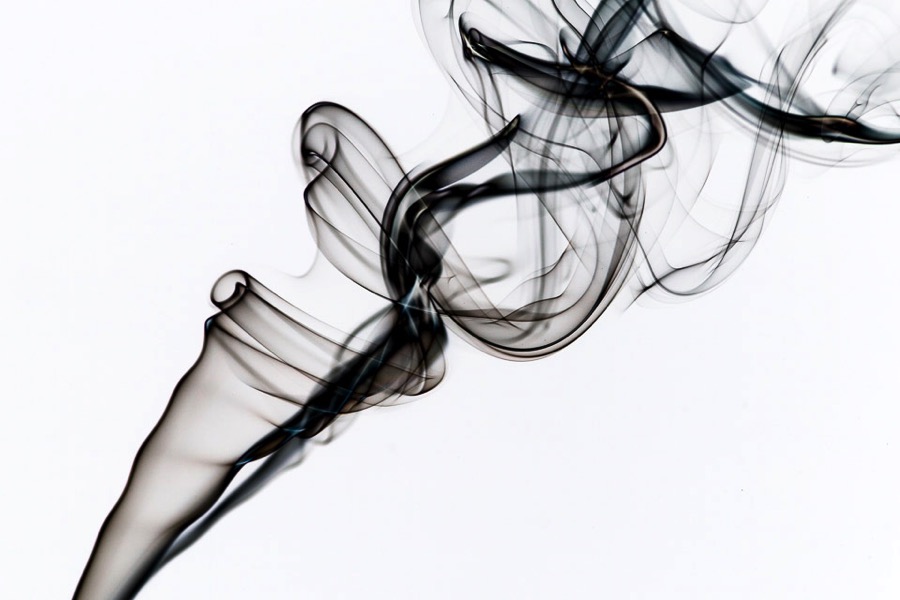
Smoke 4
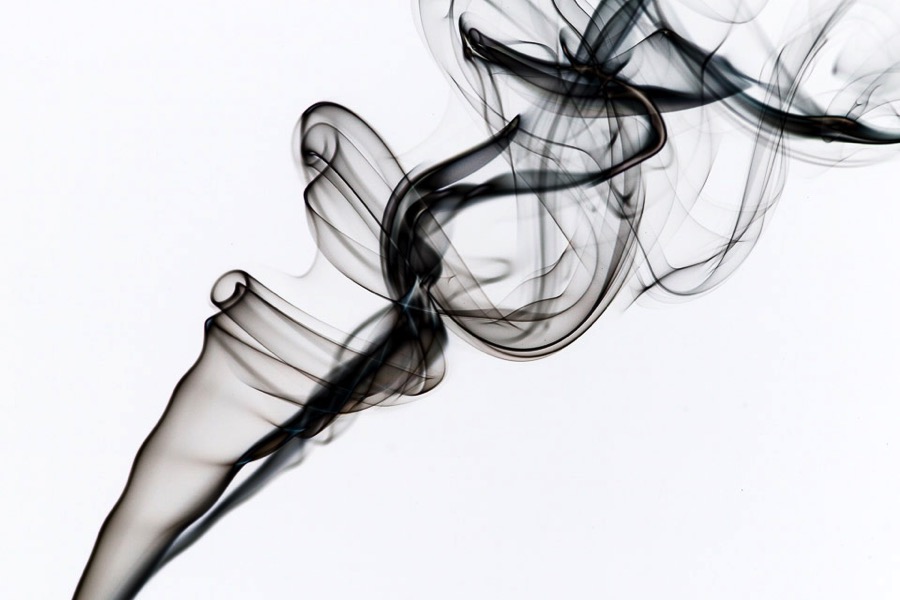
The main idea in use in the Presets is called Solarization. It also looks really cool in B&W, so press V to make B&W versions as well.
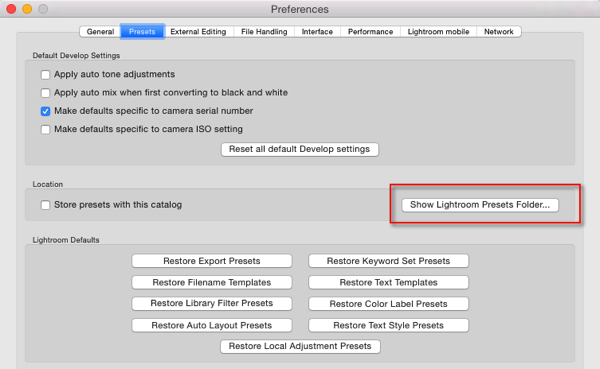
To install these presets, open Lightroom Preferences (in Lightroom menu on Mac, Edit on PC), Click the Presets Tab. Click on the Show Lightroom Presets folder. Open the Develop Presets folder and unzip the smoke.zip file into this folder. Restart Lightroom. In the Presets panel of Develop, there should now be a folder called LRB Smoke Presets 2016. Click on a Preset to apply it, or hover over it to see a preview in the Navigator.
Please, if you find these useful, sign up for my general photography newsletter in the sidebar. It’s an occasional newsletter with Photo and Lightroom tips and news. It also gets you a free ebook called Alt Lightroom as well as other regular giveaways.

