While there’s a wealth of choice in photosharing communites, there are always concerns over sites taking your images to use for free. One option is to simply publish on your own website using freely available tools like WordPress. As well as providing a central place for your images, it’s a great marketing tool too.
Personally I use a free template called Blogum from Wpshower for my client photography blog. While I can export images from Lightroom and manually upload them, being able to send them directly to the blog is a far more efficient use of my time.
Enter LR/Blog, a great plugin from Timothy Armes. Tim has written loads of useful plugins for Lightroom, and this one is no exception. Simply load the plugin via the Plug-In Manager and then select the images you want to export. In the Export To: list at the top of Export, choose ‘LR/Blog’.
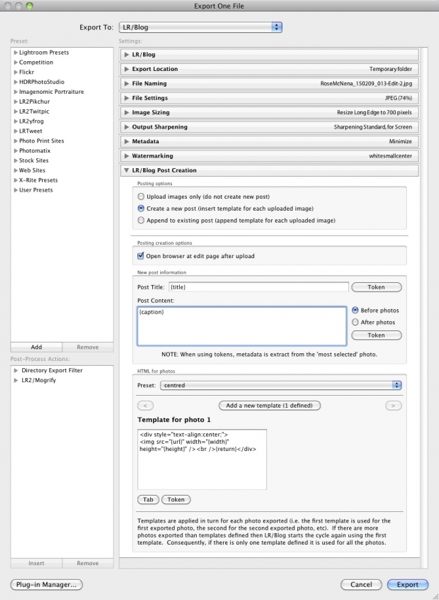
The top section is the LR/Blog settings. Here you choose the type of blog (WordPress, Blogger, or MetaWeblog compatible) and enter your blog details, including login information. The ‘Test credentials’ button allows you to check that these are entered correctly, to prevent a failure of the upload in advance. Finally in this section, you can choose to overwrite images. Generally I leave this feature off, but you may want it on if you have low space online.
The next few sections are the standard Lightroom ones for setting file export location (temporary by default), file name, settings, sizing, sharpening and watermarking. As these are normal and routine, I won’t cover them here. You can see the settings in the image capture above though.
The bottom section is where the blog post is actually created. At the top you have 3 posting options: Upload Images Only, Create a New Post or Append to exisiting post.
I generally use the 2nd option the most. The next choice is whether or not to open the browser after upload. I have this on, so I can edit things like tags and categories before the post goes live on the site. The great thing is that the plugin will open you onto the post page inside WordPress (after login), making for a speedy edit.
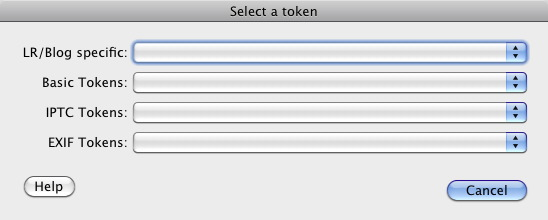
Next we have the ‘New Post Information’ section. This creates the text for the post itself. You can type directly in the Post Title and Post Content boxes, or you can use Tokens by clicking the Token button beside each box.

There are 4 Token types: LR/Blog, Basic, IPTC and EXIF. For me the most useful are the Title and Caption tokens. By entering text in these fields in the Metadata panel in Library, prior to export, I save my blog text in Lightroom, and have it auto apply to the LR/Blog export. This means I can save a preset of the LR/Blog settings and simply select the photo in Library and publish immediately via Preset, without opening the Export dialog. Neat. You can opt to have the text above or below the photos when published.
The final part of the bottom section is the HTML for photos. This allows you to set any HTML code you like for each photo that’s exported. You can save this template as an internal plugin Preset via the ‘Add a new template’ button. The basic one you see here simply centres the image and adds gap. You can also use tokens in this section too, so you could add things like a photo title and photo exif below a photo, if you liked.
I personally find this a handy plugin. LR/Blog is available from The Photographers Toolbox and is a donationware plugin. If you find it useful, please do donate.