One feature that’s very cool for printing is the ability to have multiple paper/printer combinations stored inside presets. There is only one trick to it though, which people can miss. 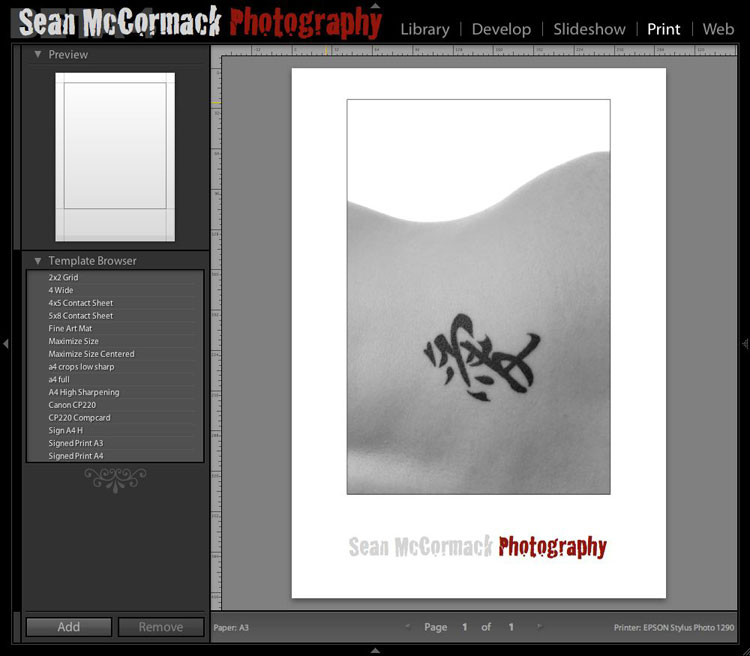
Okay. Lets start by picking a template we want to modify. I’ve chosen Fine Art Mat for this (should that be Matte?). I’ve modified and added my Identity Plate. 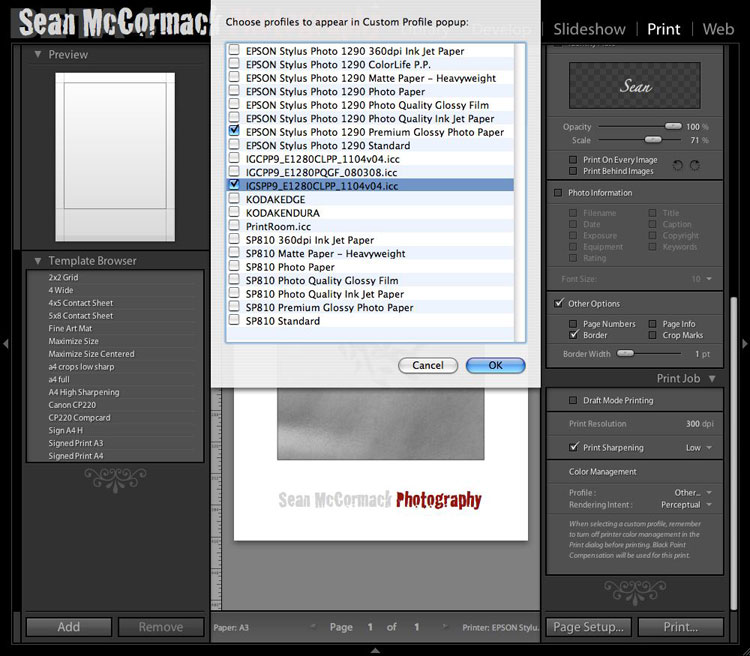
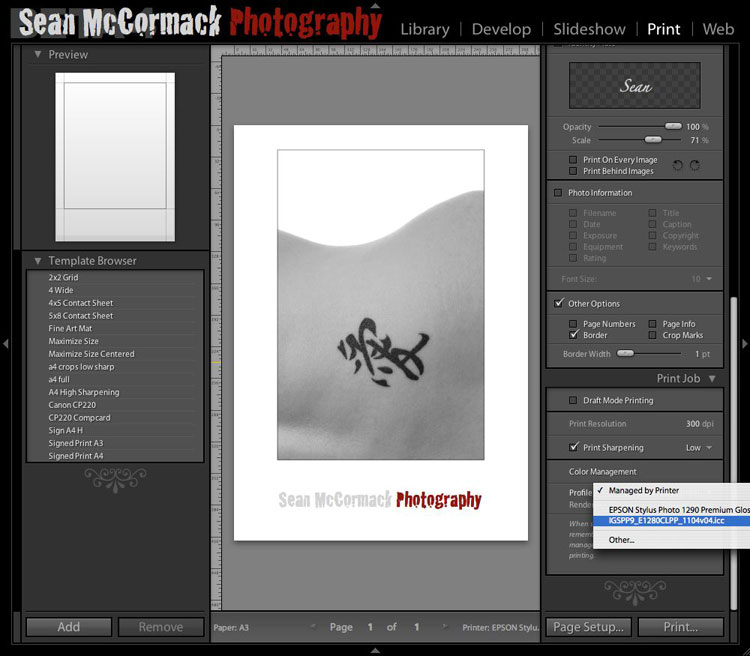
Next I choose my Printer Profile. I click on ‘Managed by Printer’ and select Other.. from the drop down menu. This allows me to select a profile to add to the list. I then click Printer and select my Epson 1290 from the list and setup the photo settings recommended by Ilford for the Smooth Pearl I want to print with.
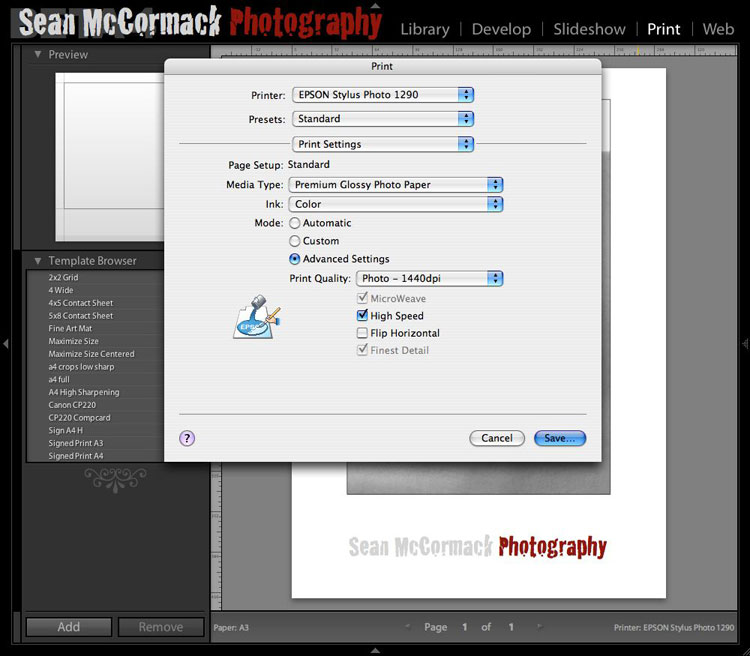
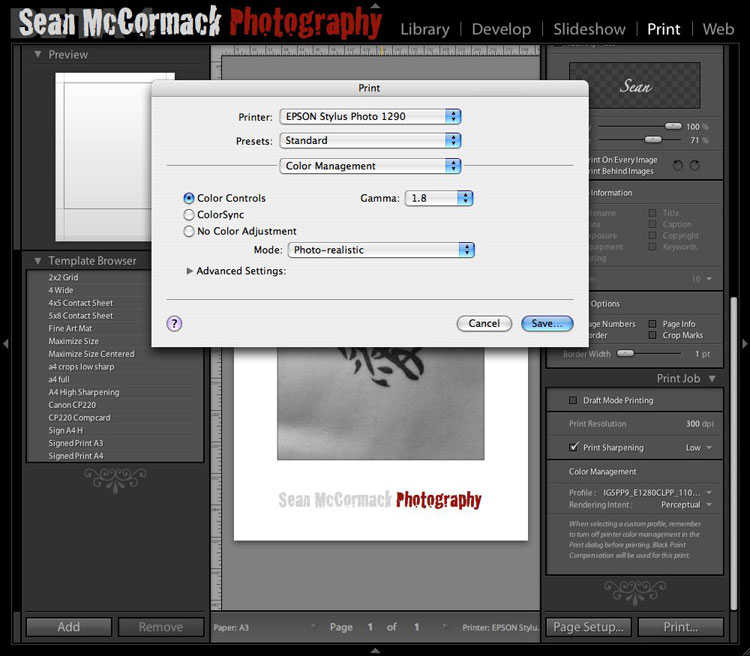
Normally with a profile you would turn Colour Management off, but Ilford recommend a particular colour setting so I’ve set that. Here’s the trick. Once all this is set up I hit Save. This saves to the Standard print setting. This is the key step.
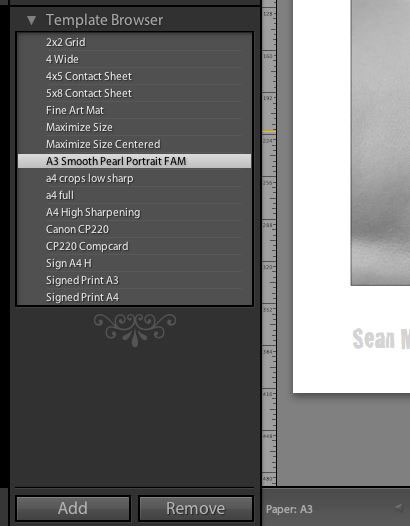
Now that this is done I save the Preset. 
I’ve also done this for another printer: The Canon CP220 6X4 printer. This has no profile control and no colour control but I’ve still saved it as standard. I’ve then modified the Fine Art Matt again for this Printer. Finally I’ve saved a new Preset CP220 FAM.
If you have followed this, you can see that there is a different printer in the capture from each preset. If I switch between them the print settings also change to reflect what I set as Standard for that preset.