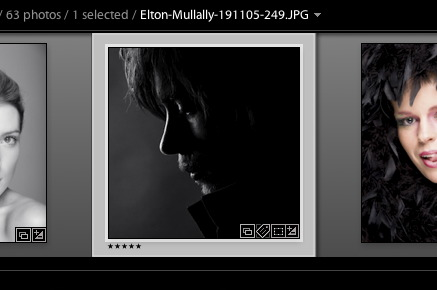
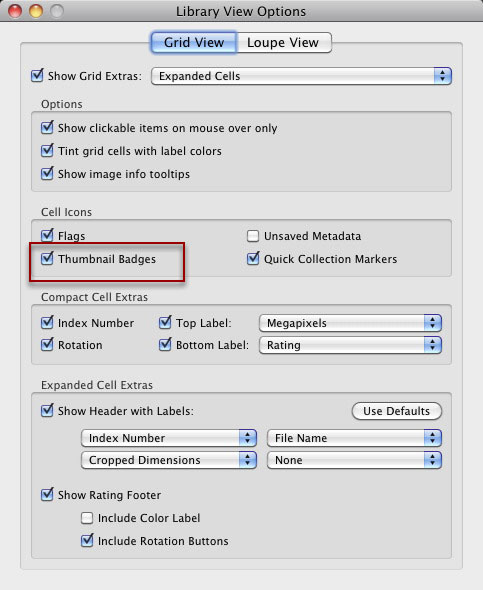
In my last post, I briefly mentioned the Collection badge as a way to get to whatever Collections an image is in. This badge is only one of many, so let’s take a look at them. First up, our top image shows badges in the thumbnails in Grid view. In order for to happen you need to check ‘Thumbnail Badges’ in Grid View options. This is available by shortcut: Command J on Mac, or Control J on PC, or from the View>View Options menu.
Badges are also available in the Filmstrip.
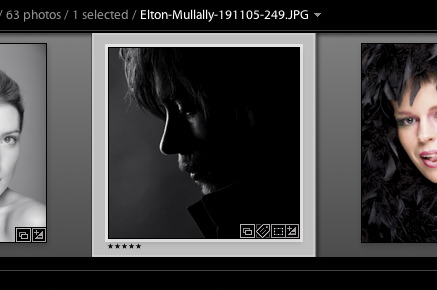
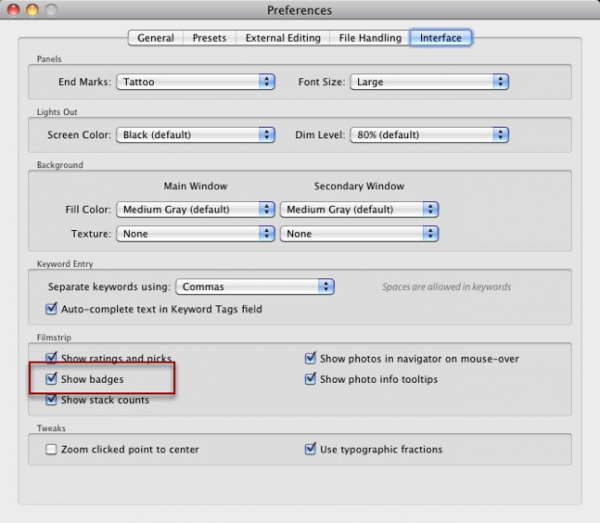
Again these need to be turned on. This time the checkbox is in Lightroom Preferences, in the Interface section. Preferences are in the Lightroom menu on Mac, and the Edit menu on PC.
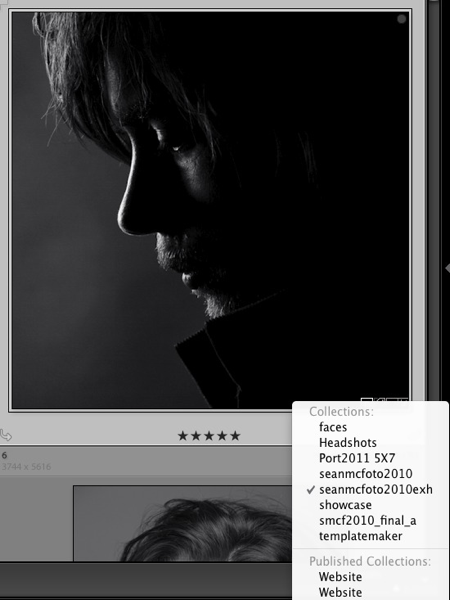
So now that we’ve got badges on, let’s look at what they do. We’ve already seen the first one before: Collections. So the article stands on its own, I’m still going to cover it. Clicking on the badge with the overlapping rectangles will allow you to see the collections a photo is in. Our example photo below, is in many collections, and clicking on the name will bring you to that collection.
To me, the next badge looks like a stubby pencil, but it’s actually a tag. When this badge is visible, it means Keywords have been added to the photo. Clicking it will open the Keywording panel in Library.

The next badge is a dotted rectangle. This shows that the photo has had a crop applied. Clicking the badge will open the Crop tool in the Develop Module, to work on the crop.
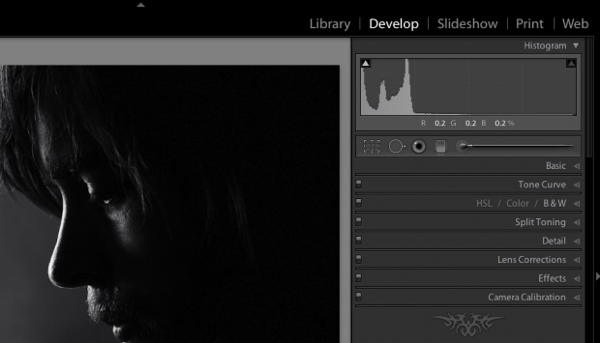
The final badge is a +/- badge. This indicates that Develop settings have been applied to the image. Clicking on the badge will open the Develop Module.
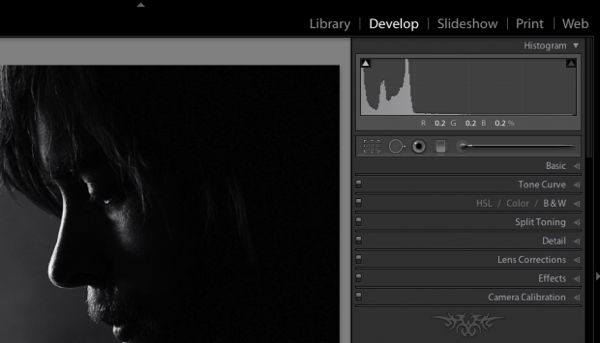
There are other badges that can exist in thumbnail views. These include the Unsaved Metadata badge, Flag and the Quick Collection marker. These can also be turned on and off via View Options. In order, clicking these prompts to ‘Save Metadata’, applies/removes a flag and adds/removes from a Quick Collection.


