
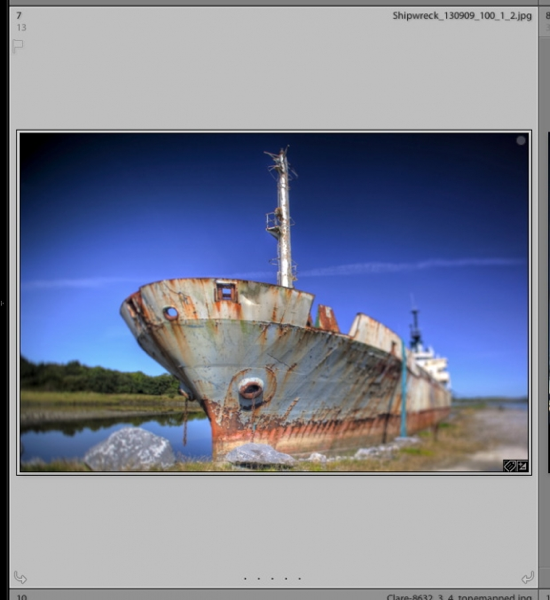
Normally if you want a new version of a file, you’d need to duplicate the file. So if you wanted a B&W version, a muted tone version, or even an alternate crop, you’d be really wasting disk space. With a camera like the Canon 5DII, that’d be 30Mb for each Raw copy. Fortunately because Lightroom is a database, we can easily make versions of the files from the original that take up very little space.
These versions are called Virtual Copies. How they work is Lightroom looks at the file, copies the settings and creates a new preview for us to work with. As this preview is much smaller than the original file, we’ve saved a lot on disk space already.
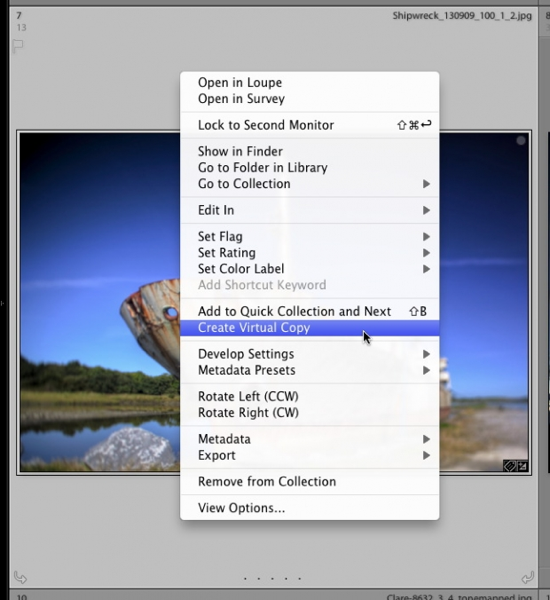
There are many ways in Lightroom to create a Virtual Copy. The easiest is to right click (or Ctrl click on a one button Mac) and choose Create Virtual Copy from the contextual menu. Alternatively you can go to the Photo menu, and choose Create Virtual Copy there. The shortcut key is Command ‘ on Mac, or Control ‘ on PC. If you’re creating a New Collection, one of the options is to ‘Make new virtual copies’.
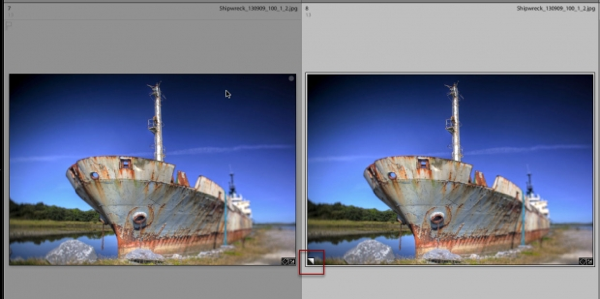
When the copy is created, it becomes the selected image, and is stacked with Master file. To check which file is a virtual copy, look at the bottom left of the file. If there’s a page curl there, it’s a copy, if not it’s the Master file.
So what can you do with your new Virtual Copy? Well, anything really. Add a preset, create a crop etc. Virtual copies are quite useful if you need to have different crops of the same image for printing, especially going to an external lab. By selecting the aspect ratio (6X4, 5X7 etc) in Crop, you get to centre the crop as you like, and not how your lab software might.
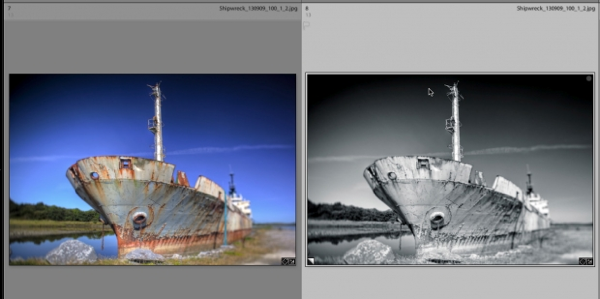
For the copy above, I’ve applied the Preset ‘Binked’ from my Preset Pack Vol 1.
There are others things that are useful to know about Virtual Copies. Firstly, they only exist in the Catalog. Even if you use the Save Metadata command, they’re not written to the metadata. If you want a hard copy of the file, you’ll need to export it. Be aware that it will have the name of the original file.
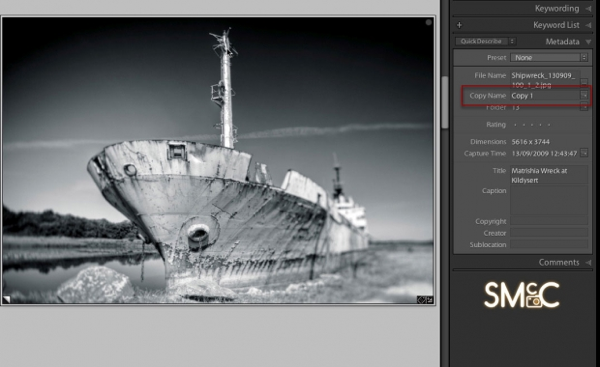
There is a way around this though: each Virtual Copy has a ‘Copy Name’, visible in the Metadata panel using the ‘Quick Describe’ preset. This copy name can be edited to match the file, e.g. B&W.
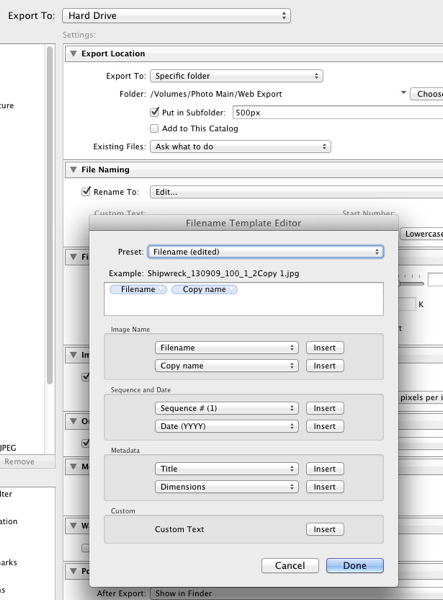
When you Export, you need to click Edit on the file naming, and add ‘Copy Name’ by clicking the Insert button to the naming box. This appends it to the filename.
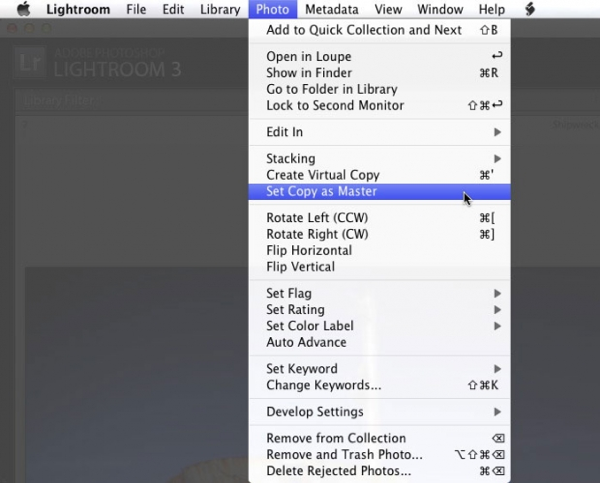
If you prefer the Virtual Copy to the original, you can swap the files to make the copy into the Master file. Simply go to the Photo menu in Library and choose Set Copy as Master.

Finally if you want to filter for Virtual Copies, open the Filter Bar (shortcut ‘\’), click Attribute and then select the middle icon, with the page curl. This will then show only Virtual Copies. The other icons are for Master and Video files.
So that’s an introduction to Virtual Copies.


